This time I will be showing you how I sewed my underskirt together. But before I begin I want to clarify something. Remember me telling you how I messed up my drafted pattern by not adding enough waistline fullness? I said. . .
Earlier, I wrote up a post about it but had to take it off the blog temporarily, for I made a mistake during the drafting process and I didn't want you to be led down the wrong road. So what did I exactly screw up? It was the widening of the waist. I didn't widen the waist enough to allow the underskirt to slide over my hips when I tried to put it on. Yeah, sounds like an obviously step to make but I completely overlooked it! Don't you just hate when that happens?
This was especially disappointing news to me, because I already cut the skirt out and sewed it together. I didn't realize my mistake until I started working on the elastic waistband. Nonetheless, I did manage to make the underskirt work; I simply inserted a side zipper.
Well, in the instructions below I will NOT be showing you what I did to fix my problem by adding a zipper. I will be showing only what I should have done, i.e. make a casing and insert elastic.
OK, now on to the sewing!
1. I laid out my pattern pieces (FRONT and BACK) on the fold of my ivory, taffeta lining and pinned them in place.
2. Then I cut them out.
3. And clipped the notches so my pieces would line up correctly when I sewed them together.
4. After which, I laid out the two lower layer patterns (FRONT and BACK) on the fold of the polka dot fabric.
5. And cut. Here's the FRONT piece:
6. Once everything was cut, I sewed the skirt front to the lower layer front, repeating with the BACK pieces.
7. I trimmed and serged the seam allowances together. If I didn't have the option of a serger, I would have trimmed and did a zigzag stitch over both seam allowances.
8. Now it was time to press the seam allowances down towards the bottom layer. I first pressed the stitching to "meld" the stitches to the fabric.

9. Pressed the seam allowances towards the bottom layer.
10. And on the outside, I pressed the seam one final time. This habit of "melding" the stitches, pressing on the inside, and then the outside really creates perfectly pressed seams that lay flat and do not pucker.
11. The side seams were next. I sewed the FRONT and BACK pieces together at the side seams and pressed the seams open.
12. I then moved on to the waist. I first serged the top waist edge. Now I knew this wasn't absolutely necessary, but the edge was fraying and I wanted something more substantial to fold and press with.
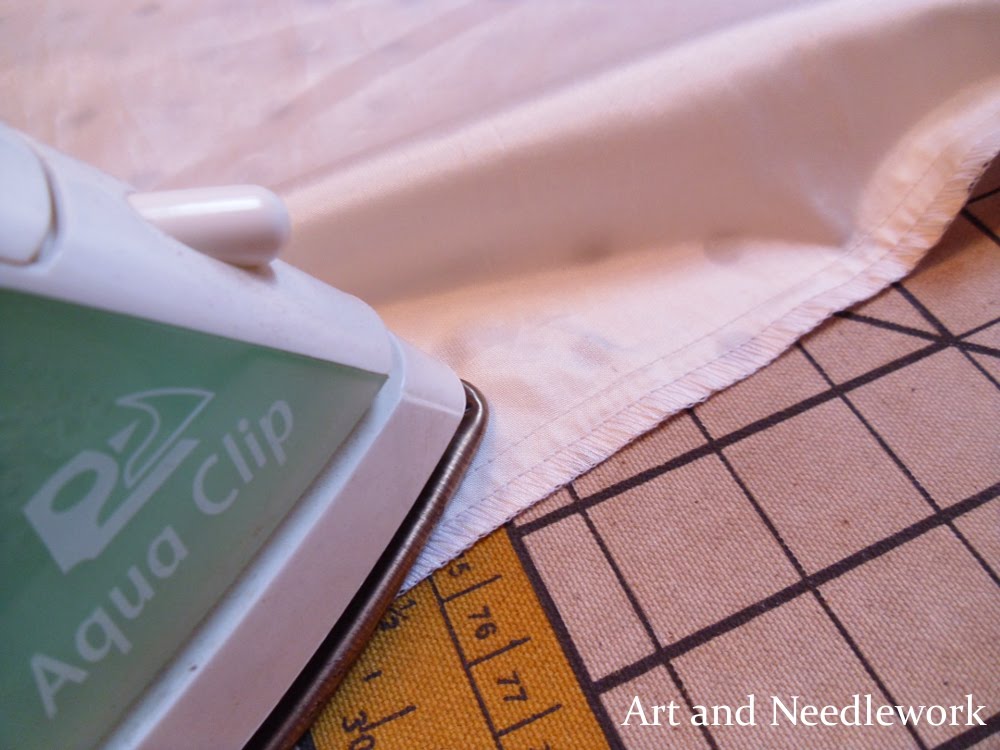
 13. To make the elastic casing, I folded the edge 1/4" and pressed.
Folded it 1/4" again and stitched as close as I could near the first fold.

I then folded this "narrow hem" of mine over 1/2" and stitched it in place, while leaving a small opening near one of the side seams.

I cut a piece of 1/4" wide elastic 31 inches long, inserted it into the elastic casing by using a safety pin, and sewed the two short ends together to form a loop. And I stitched the opening in the casing closed.
So how did I arrive at 31" of elastic? I wanted the underskirt to fit at my natural waist. To obtain this, I cut the elastic to my waist measurement + 1". My waist measures 30", so 30" + 1" = 31" total.
14. Now my sights moved to the last step: sewing the hem. I made a simple narrow hem using the 5/8" hem allowance I included in the pattern. I made the narrow hem by folding under 1/4" twice; using 1/2" hem allowance total.
Here's a little tip for you when sewing hems. Have you noticed the extra bulk that is created by the seam allowances of the seams when you fold under a hem? Here is how I eliminate the extra fabric when approaching an opened seam:
I first fold under the hem I will be using.
And I press it with an iron.
I then open the hem and take note of the pressing line farthest from the hem edge. I cut the seam allowances up to 1/8" away from the pressing line.
So now when I fold under the hem again, a section of the seam allowances will be absent. This creates a much smoother and attractive hem!
---------------------
Care to see my finished underskirt? Well, here it is. . .
And here it is being worn with the June Wrap:
I was very surprised to find that the underskirt doesn't look at all like a separate garment underneath. It really does look like it was sewn to the dress! And so now my sisters and I all can wear our June Wraps together. . . We actually did already. We wore all of them to Easter Mass! :)
So that's it for the 3rd installment of the "A New Way to Add Length to a Dress" 4-part series. Did I cover everything well? Do you have any questions on what I did?
Remember to stay tuned for the 4th and final exciting episode--tips and advice on how to lengthen
any skirt or dress.
Jump to the other parts of this series:
Labels: dress, sewing, underskirt


 13. To make the elastic casing, I folded the edge 1/4" and pressed.
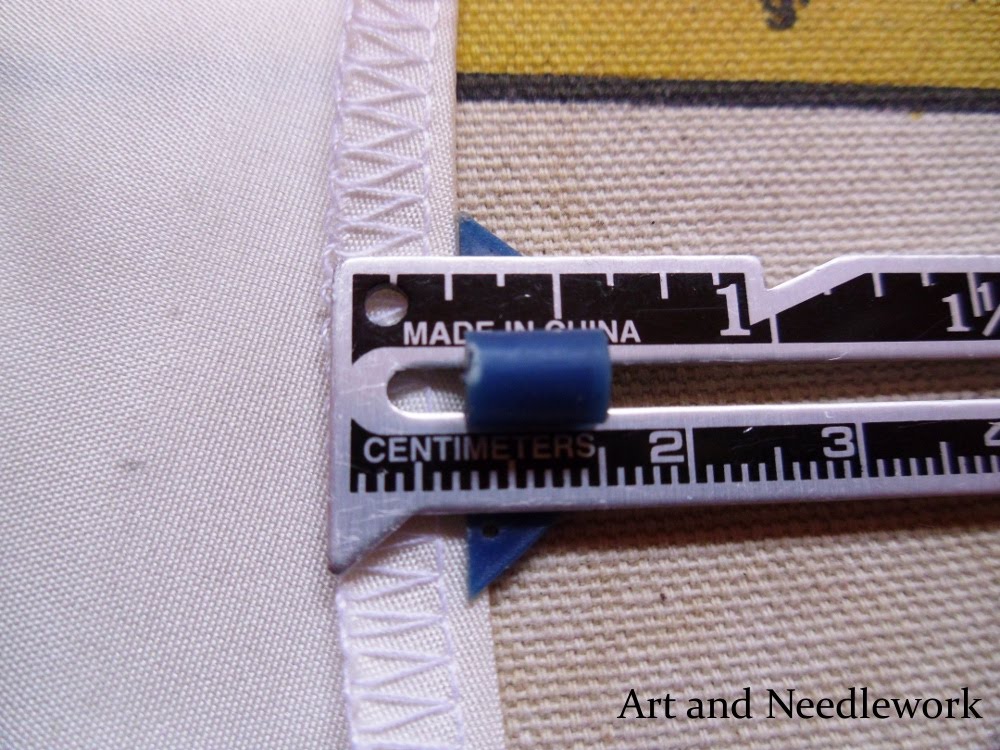

 I then folded this "narrow hem" of mine over 1/2" and stitched it in place, while leaving a small opening near one of the side seams.
 I cut a piece of 1/4" wide elastic 31 inches long, inserted it into the elastic casing by using a safety pin, and sewed the two short ends together to form a loop. And I stitched the opening in the casing closed.


