Just finished the two dog coats for a custom order last Saturday. Yay!
Here are my prior posts on the subject:
12/14/11: Sewing a U.S. Marine Dog Coat -- the Pattern
12/6/11: Sewing a U.S. Marine Uniform for the Four-Legged Type
But before I get to the grand finale let me run you through the muslin making stage. After altering my sewing pattern drastically (
Simplicity 9520), I made up a dog coat muslin using medium weight white muslin, scraps of blue piping, and bits and pieces from my red and blue fabrics. And this is it:
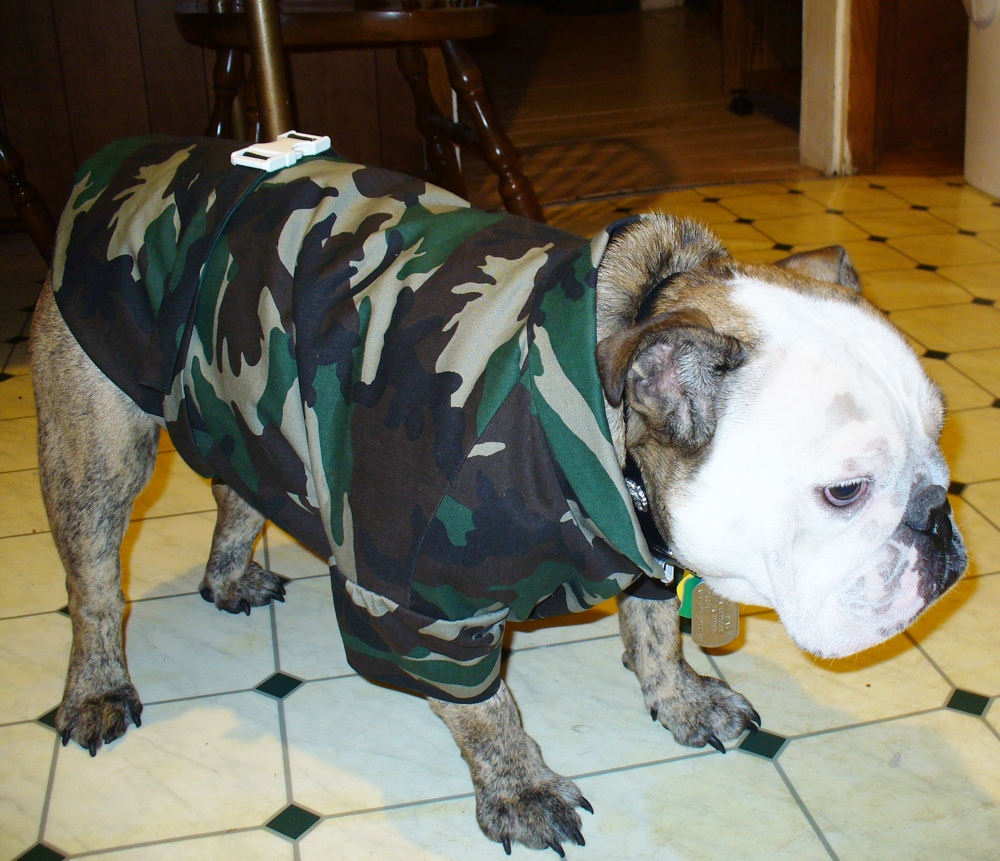
And here is Jazzmin during her fitting. She was a very nice and cooperative client I must say. :)
I was SO happy to find that the coat fits well and I had only one more alteration to make: add 2" of ease to the body (the area between the leg openings and the hem). During the fitting I also found out the necessary length for the adjustable belt I was to make.
When people talk about their muslins they typically state: "I will be adding 2" to the body," or "one inch to the sleeve cap," I often wonder how they go about doing this. There are a few methods of adding or removing ease so I'll tell you how I did it.
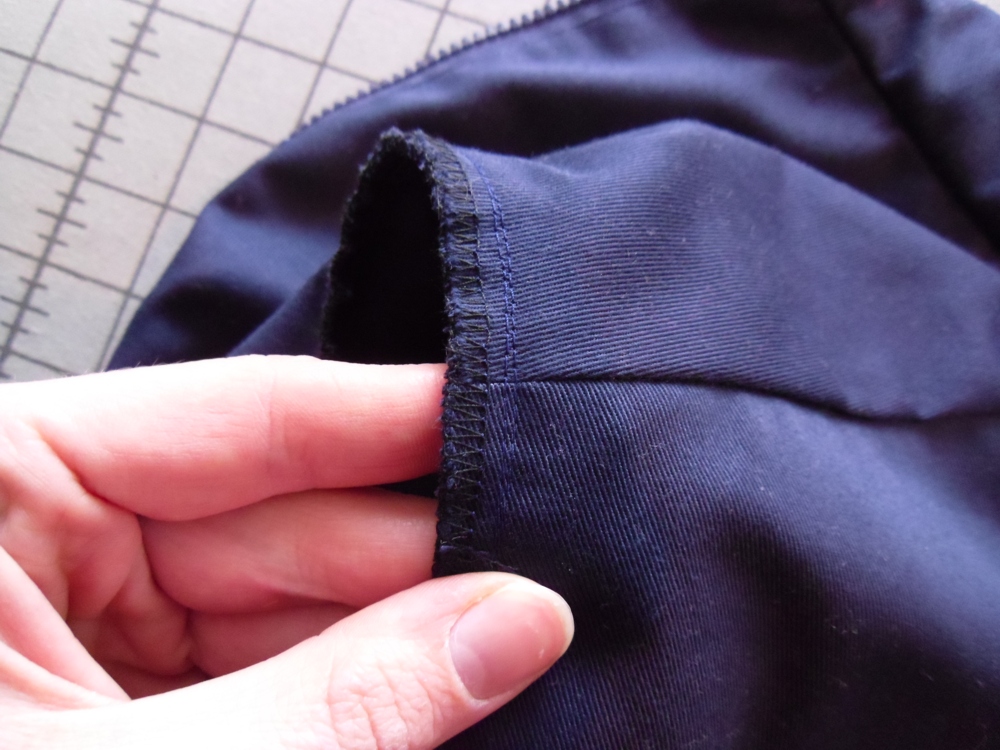
The pattern pieces I altered were the front and back pieces.
I first counted the number of seams I will be sewing in this area. It turned out to be two: left front to back and right front to back. With two seams there are four seam allowances. So I divided the amount of ease that will be added (2") by the number of seam allowances (4) and that gave me the quotient of 1/2".
So I had to add an 1/2" to the side seams of the front and back pieces. I measured an 1/2" away from the paper pattern's edge at the very bottom of the seam and marked it. I then connected this mark with the leg opening edge with a ruler and drew a diagonal line. I cut along this line. I did this to both the front and back.
And that was all I needed to do.
So I quickly cut out all the fabric pieces and whipped up the coats; it went much faster than I thought! And here they are:
Labels: pets, sewing