Presenting
St. Gemma's Art and Needlework's First Ever Tutorial. Ahem. This is a momentous occasion for sure but I think a speech isn't necessary for a number of reasons. So without further ado, I will show you how to thread a needle. It may be true that it is the basic of basics when it comes to sewing. However, I'm sure the newbies out there would benefit and novices might pick up one or two things they hadn't heard before. So keep an open mind those who have been sewing since the age of five! :)
I wanted to point out that a lot of the methods and techniques I use in sewing I've learned on my own, so I may or may not do it the "traditional" way. Whatever the case may be, I know from years of practice, that these methods of mine do work!
Supplies: You will need everything shown in the photo below: thread, needles, scissors, and wax.
You need thread, obviously, but what type of thread?
There are countless brands, weights, and fibers available, but most fabrics can be sewn with a 100% polyester, polyester/cotton, or 100% cotton thread. These threads can be used for both hand sewing and machine sewing. One brand I recommend is
Coat's Dual Duty Plus All Purpose.
Ah, wax! This
little round of bees wax helps keep your thread smooth and straight. So less knotting when sewing. This round of mine has been used for
years so one round will last you forever.
Next up: needles!
So what type of needle should you use? There are a lot of different types out there, each with its own purpose in mind. One package of needles--like the one I have--has sharps. . .
And betweens, darners, embroidery, tapestry, and chenille.
Yikes! That is a lot to choose from! But for typical hand sewing, just go for the ones called sharps. They have small eyes and slim bodies, allowing you to easily insert the needle into the fabric without making a noticeable hole.
Threading a Needle -- Step by Step
There are two ways to thread a needle: one strand or two strand (aka double thread). I will show you the one strand method first and the uses for it.
Step 1: Cut your thread to approx. 24".
Step 2: Run the thread through the bee's wax a couple times.
Tip: Some times wax build up on your thread can cause havoc while sewing. If you need to do a lot of stitching, try lightly ironing your waxed thread between two layers of fabric. Find a step-by-step demonstration here.
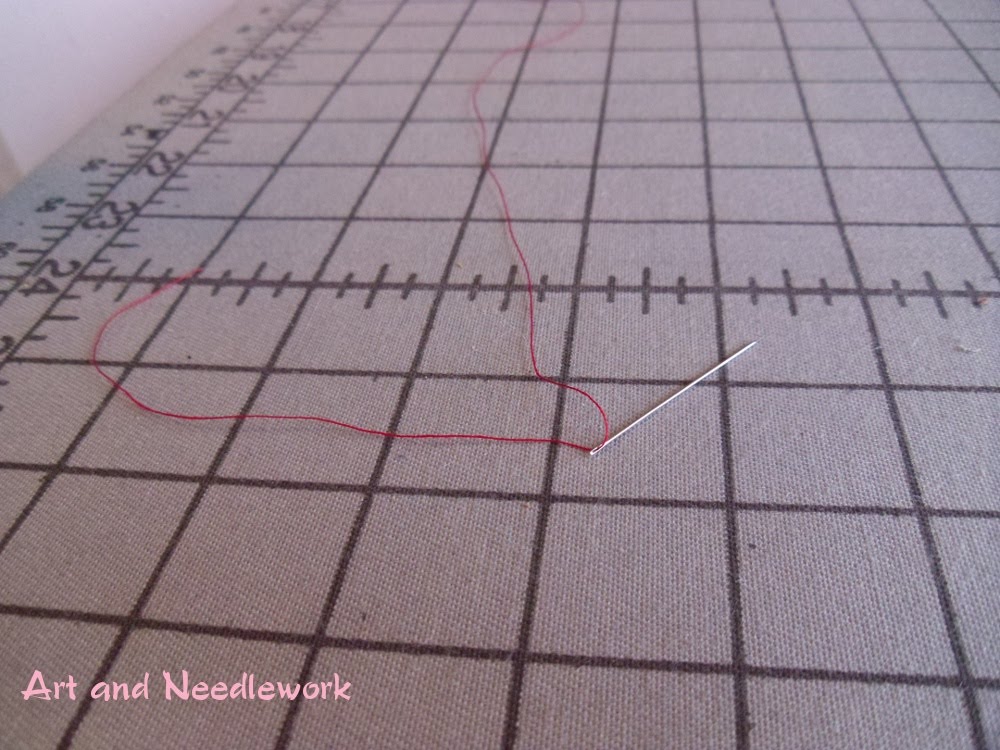
Step 3: Insert the thread through the eye of the needle.
Step 4: Leave a short, 4" tail.
Step 5: Now you are going to make a small knot at the other thread end. Grasp the end between your thumb and index finger.
Step 6: Using your free hand, wrap the thread around your index finger once while your thumb holds the loose thread end in place.
Step 7: Start rubbing the thread loop between your thumb and index finger and slowly slide the loop off your index finger.
The loop should look like this:
Because of your rubbing, the thread has been wrapped around itself like a vine wreath.
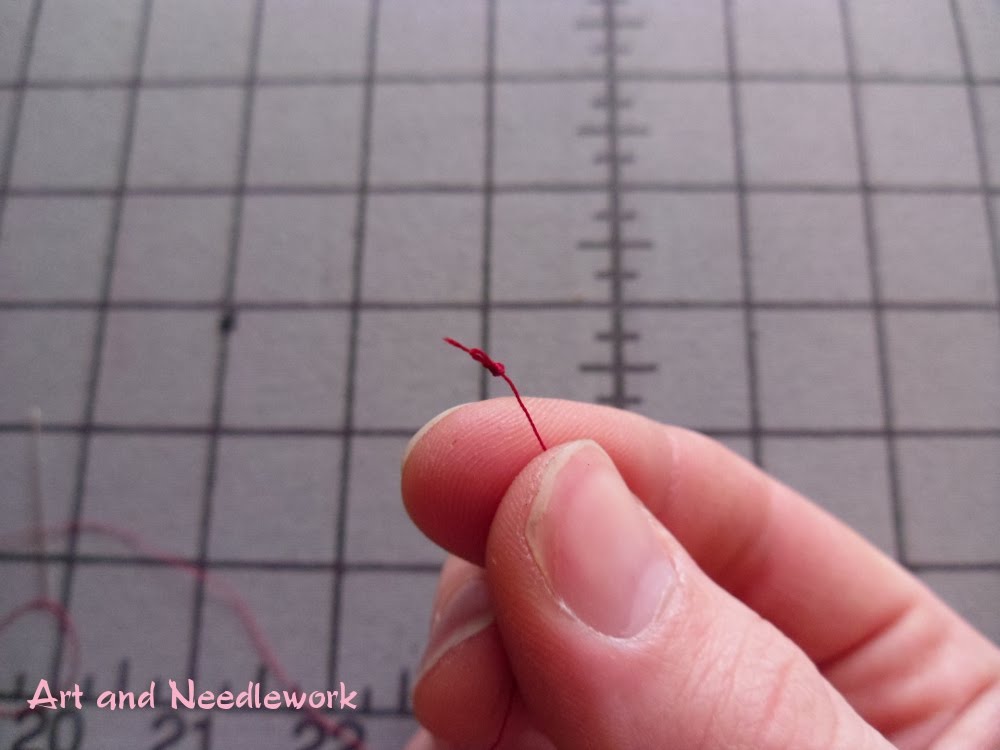
Step 8: Now it is time to close the loop. Hold the thread firmly near the loop and with your other hand, pull the thread until the loop is tightly closed.
Your once-was-loop is now a knot.
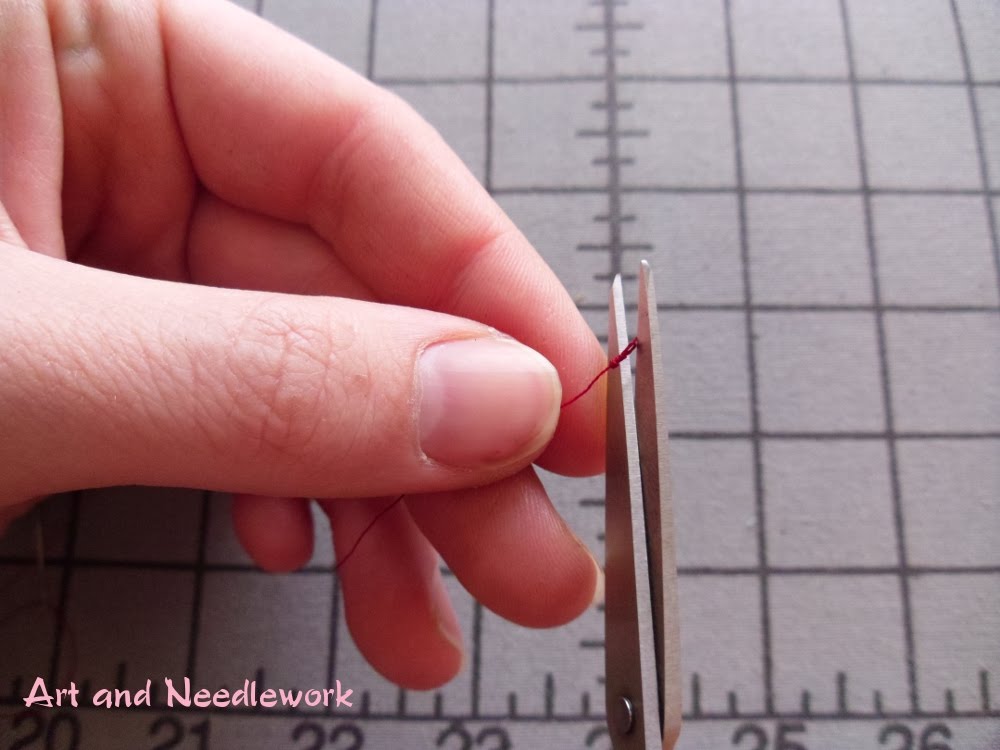
Step 9: Sometimes my knots have a small loose thread shooting from the bottom. It is not easy to hide the knot with this thread, so I clip it off without disturbing the actual knot.
Now start sewing! And remember to grasp the 4" thread tail every time you pull your needle through the fabric.
------------------
So I just showed you the one strand method of threading your needle. Use this method when you are about to sew hems, do slip stitching, or any other sewing that will not need to be extra durable and will benefit from low profile stitching. If durability is a priority, use the other method: two strand. The two strand method is "double" the strength! It uses two strands of thread and is perfect for seams, sewing on buttons, and tacking.
Step 1: Cut a piece of thread approx. 36" long.
Step 2: Run the thread through the wax.
Step 3: Insert thread through the eye of the needle and bring both thread ends together.
Step 4: Make your knot the same way like the one strand method.
Now you are all set to start hand sewing!
------------
So what did you think of my tutorial? What would you have done differently? Do you have any advice that could help make it better? Have any suggestions for future tutorials? (Could be sewing, knitting, crocheting, quilting, and machine knitting related.) Comment or email me; thanks a bunch!
Tutorials and photos all rights reserved to the writer, Rebekah Fox. If you are interested in propagating this tutorial, please contact me to ask my permission.
Labels: sewing, tutorials