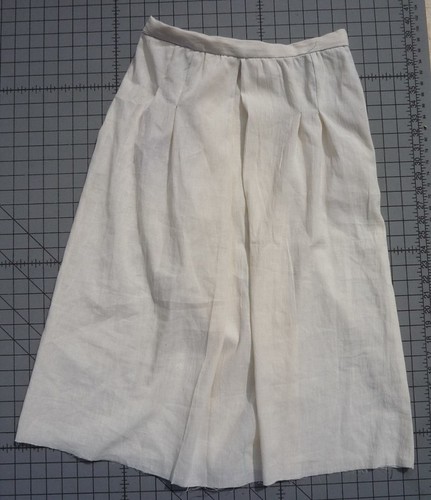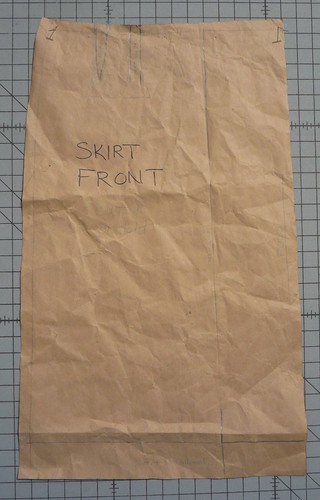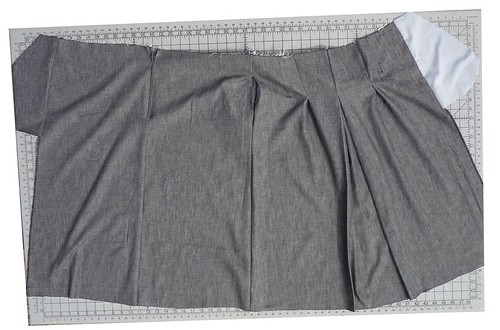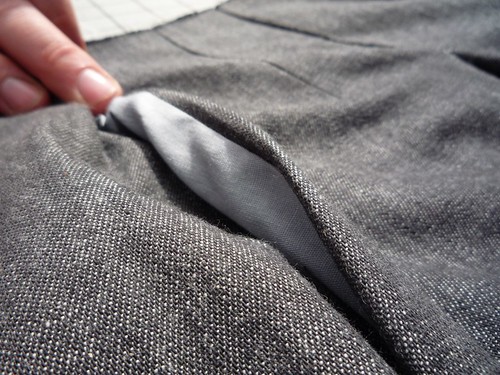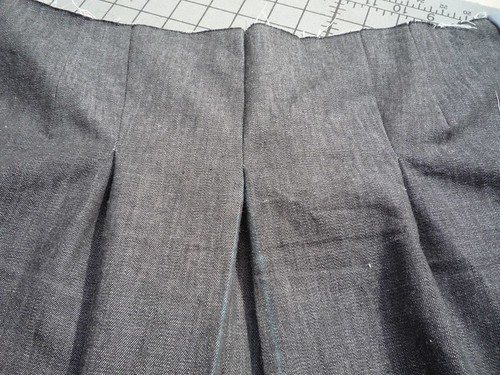
As you can see from the photo above, the pleat does not release its fullness until five inches below the waist edge. This allowed me to remove the excess fabric above. The pencil in the photo below shows where I made my cutting line.

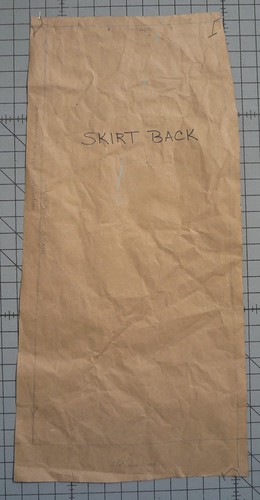
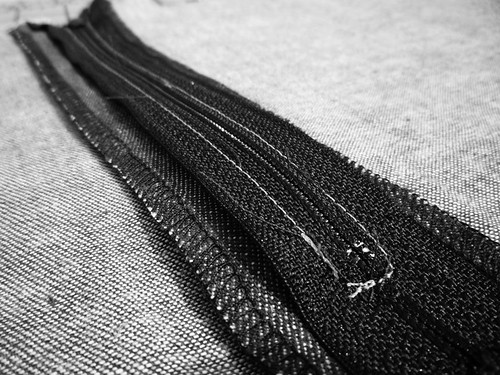
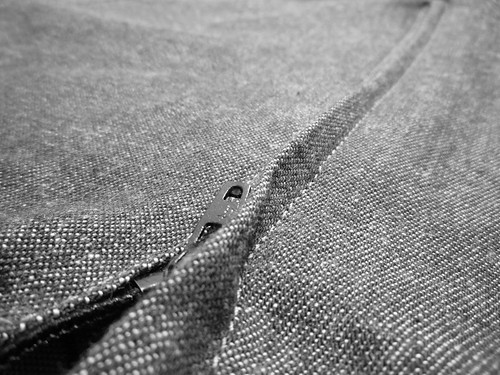
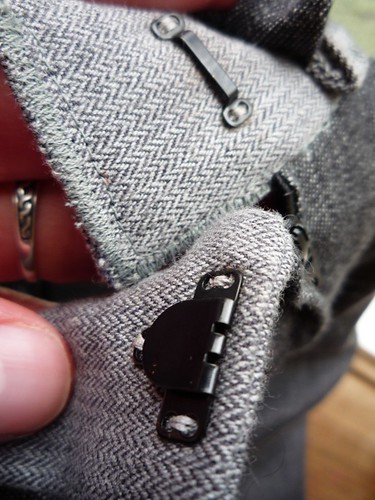
I then inserted the zipper in the back.